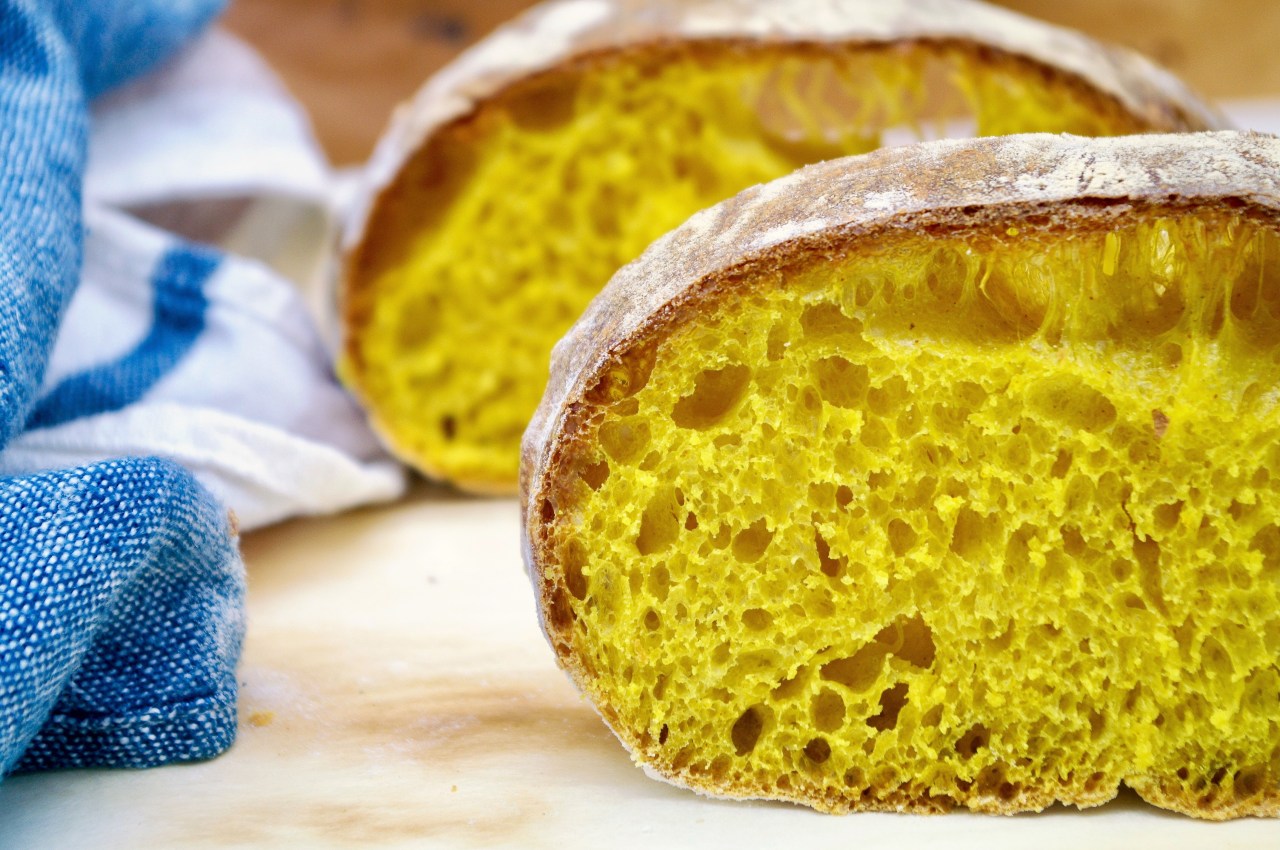
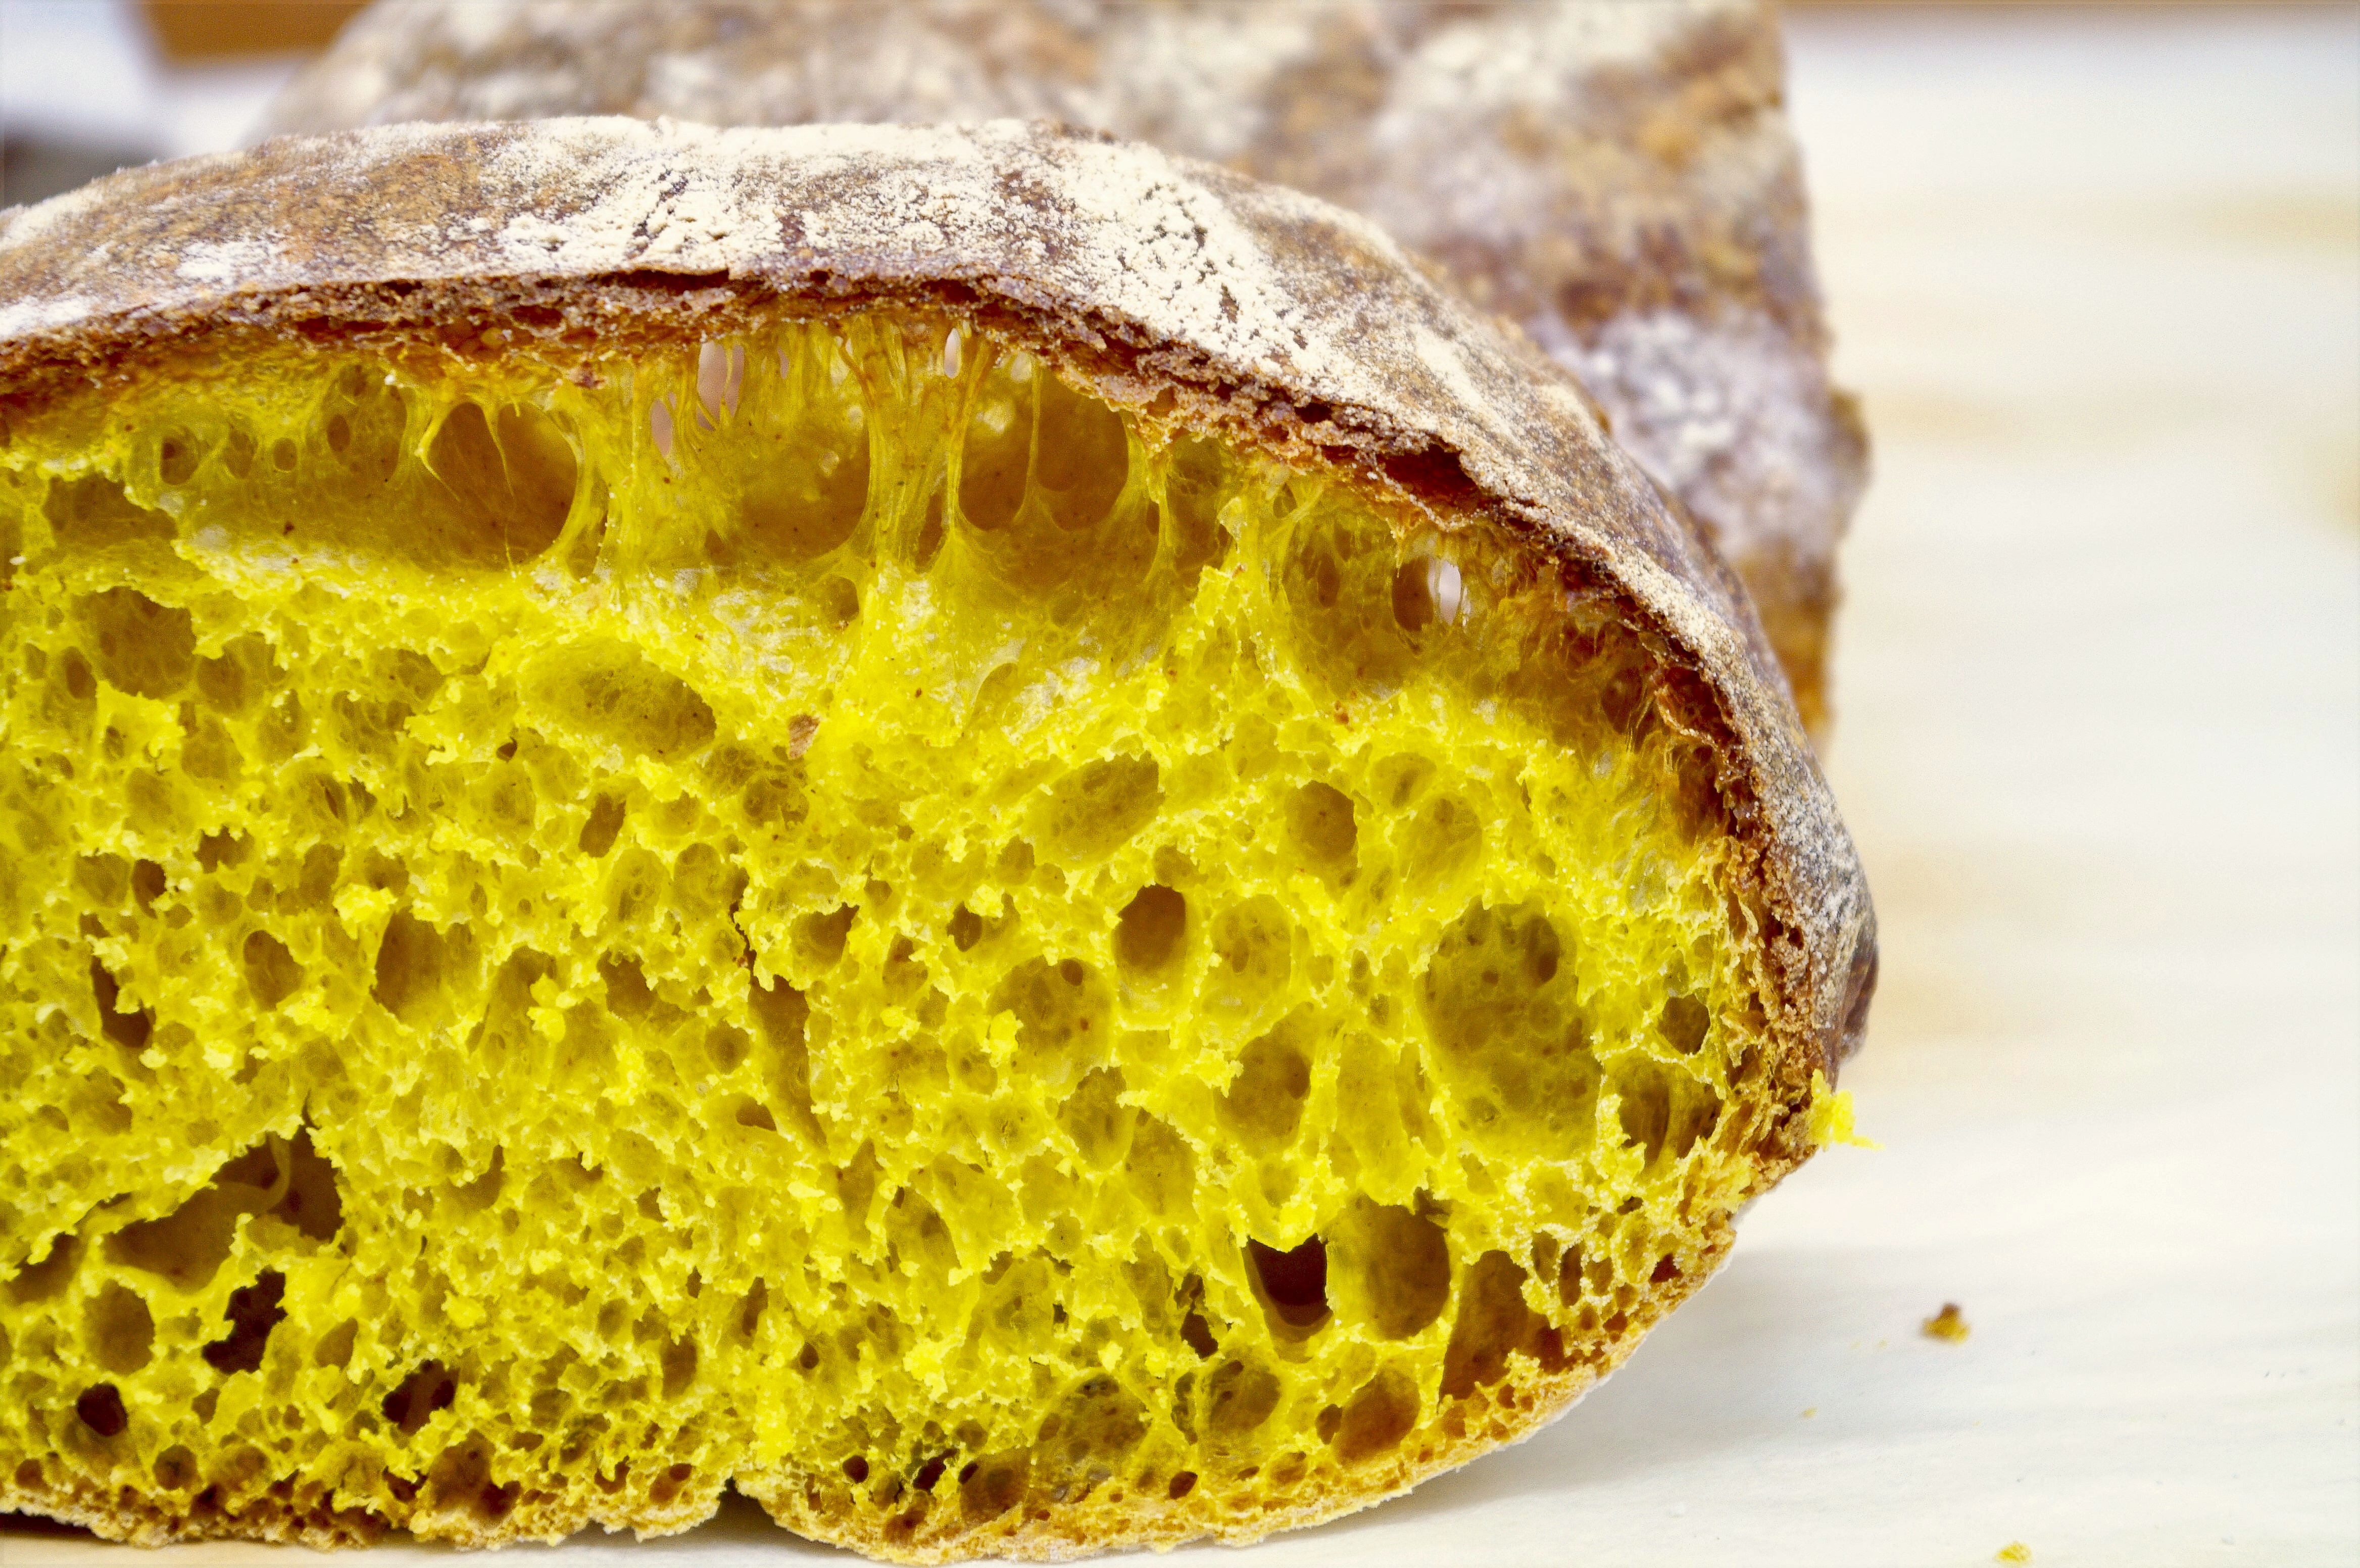
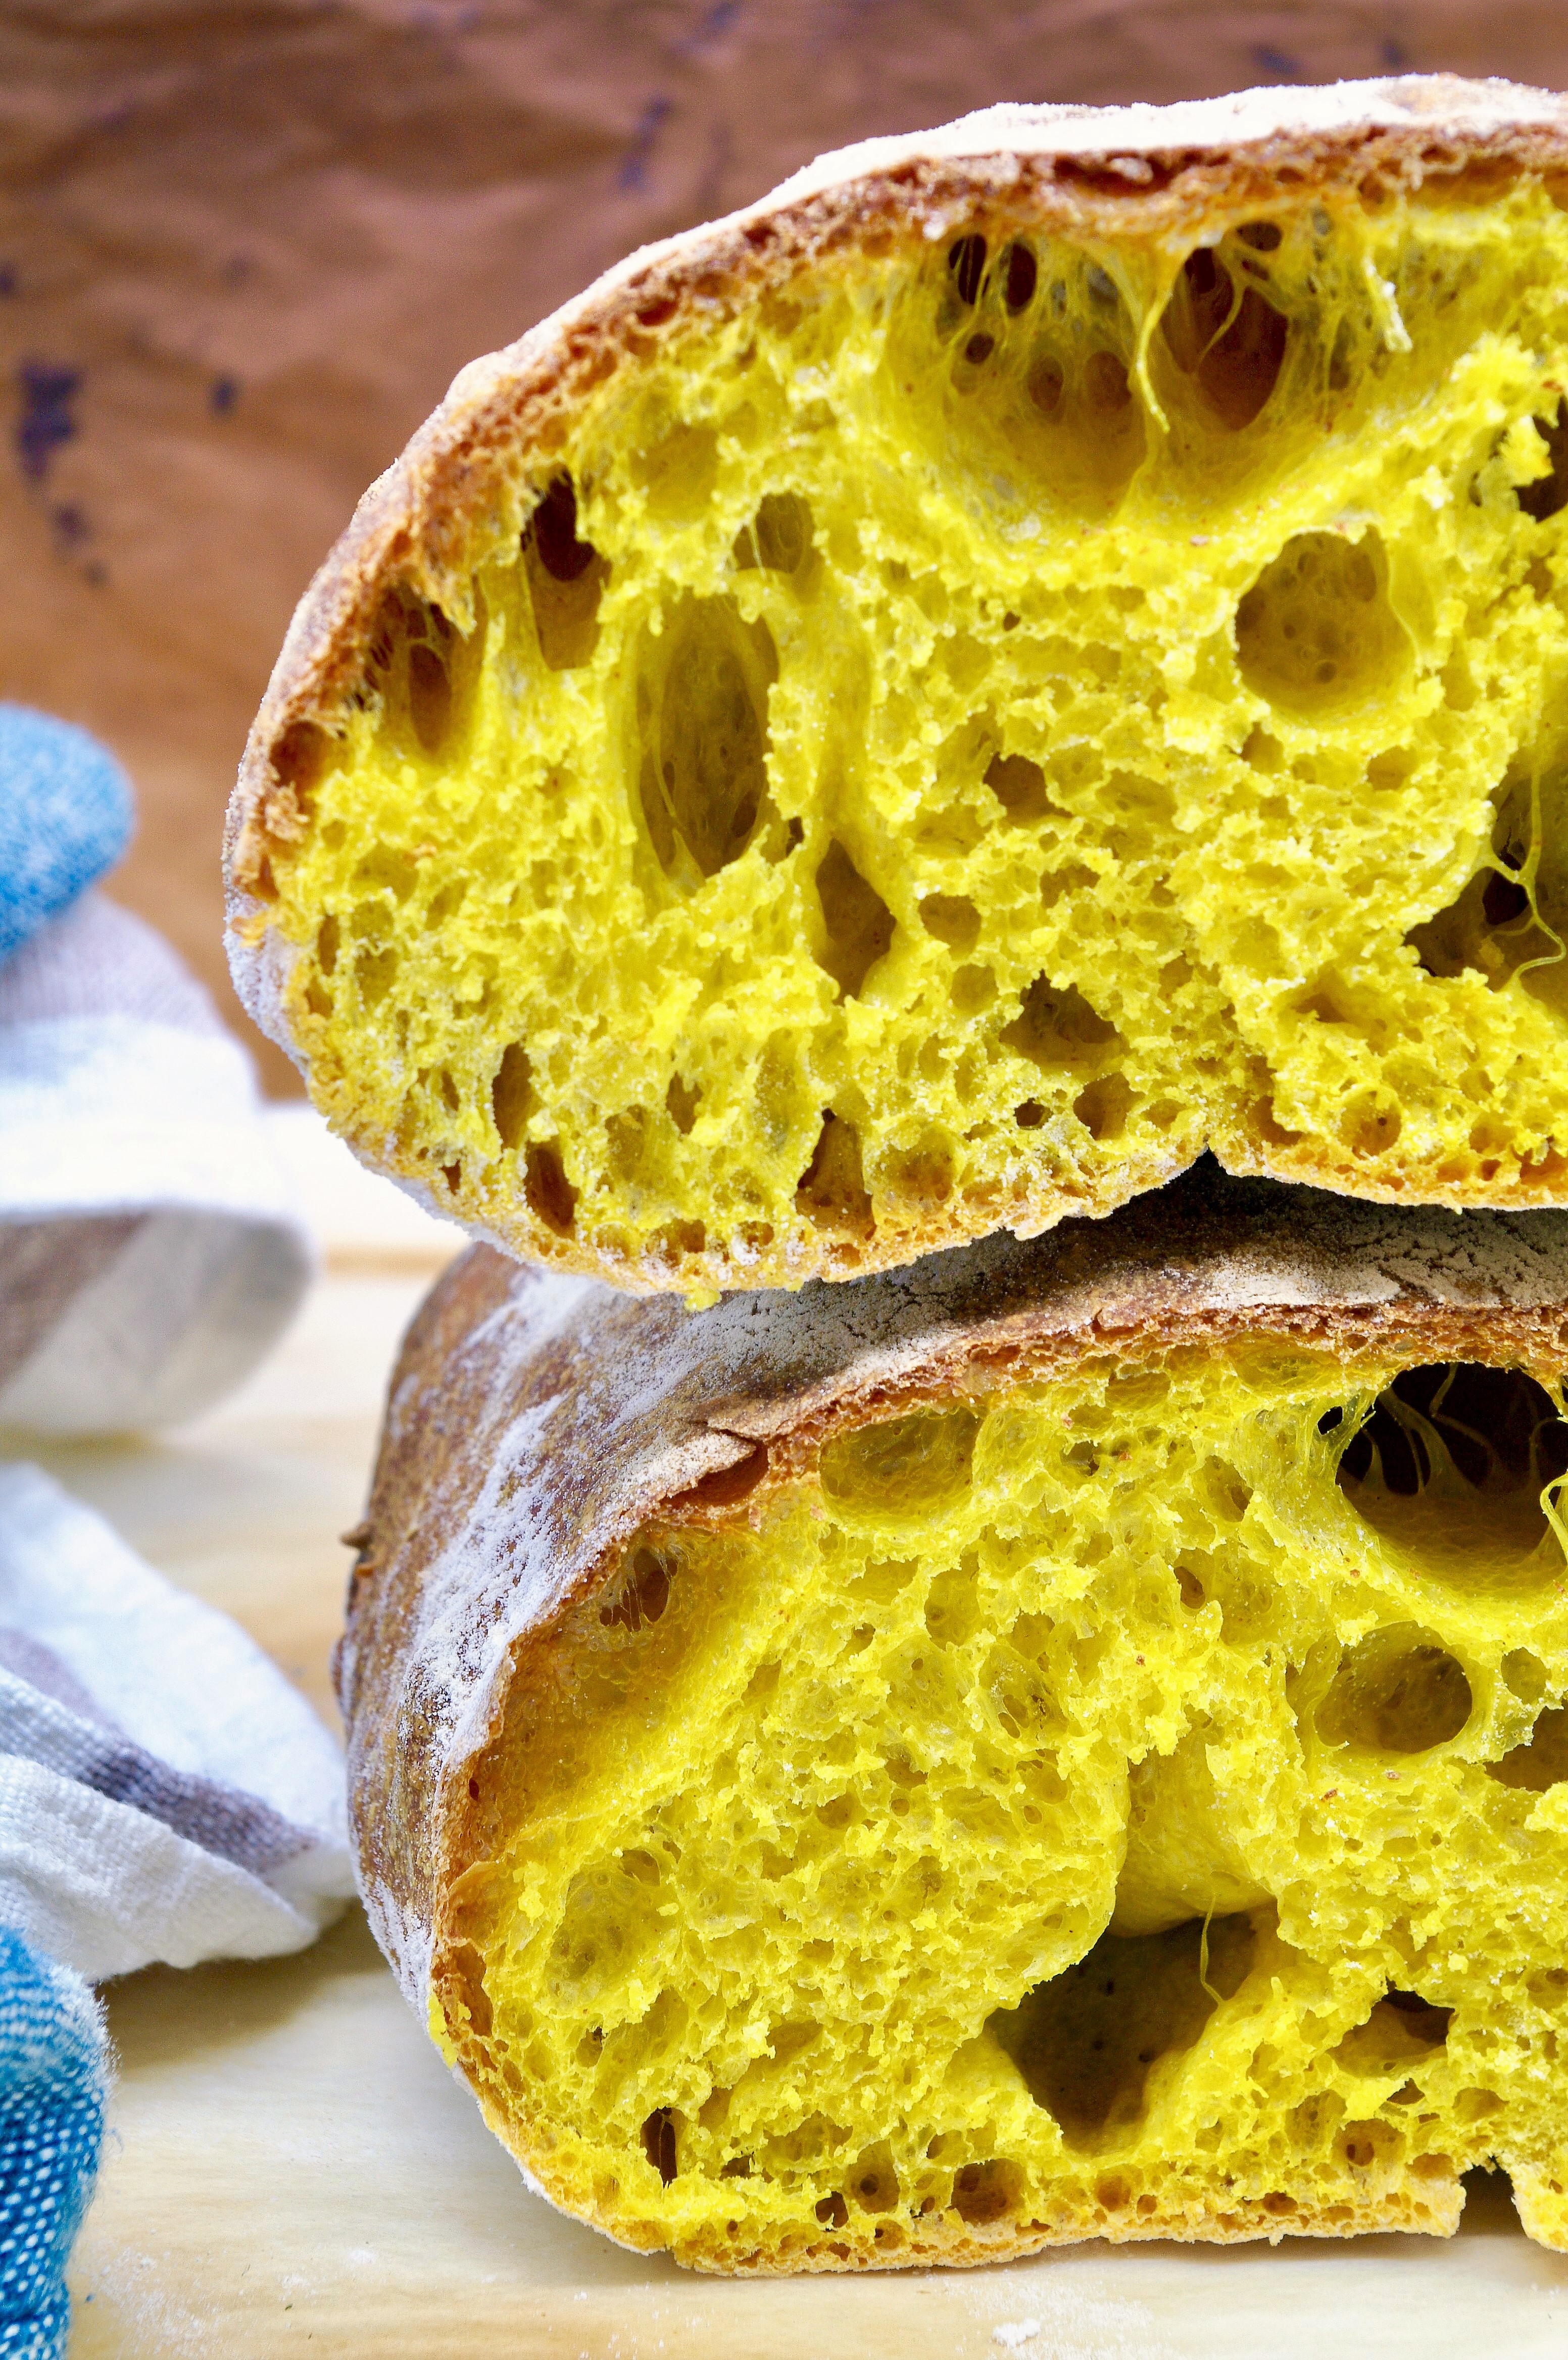
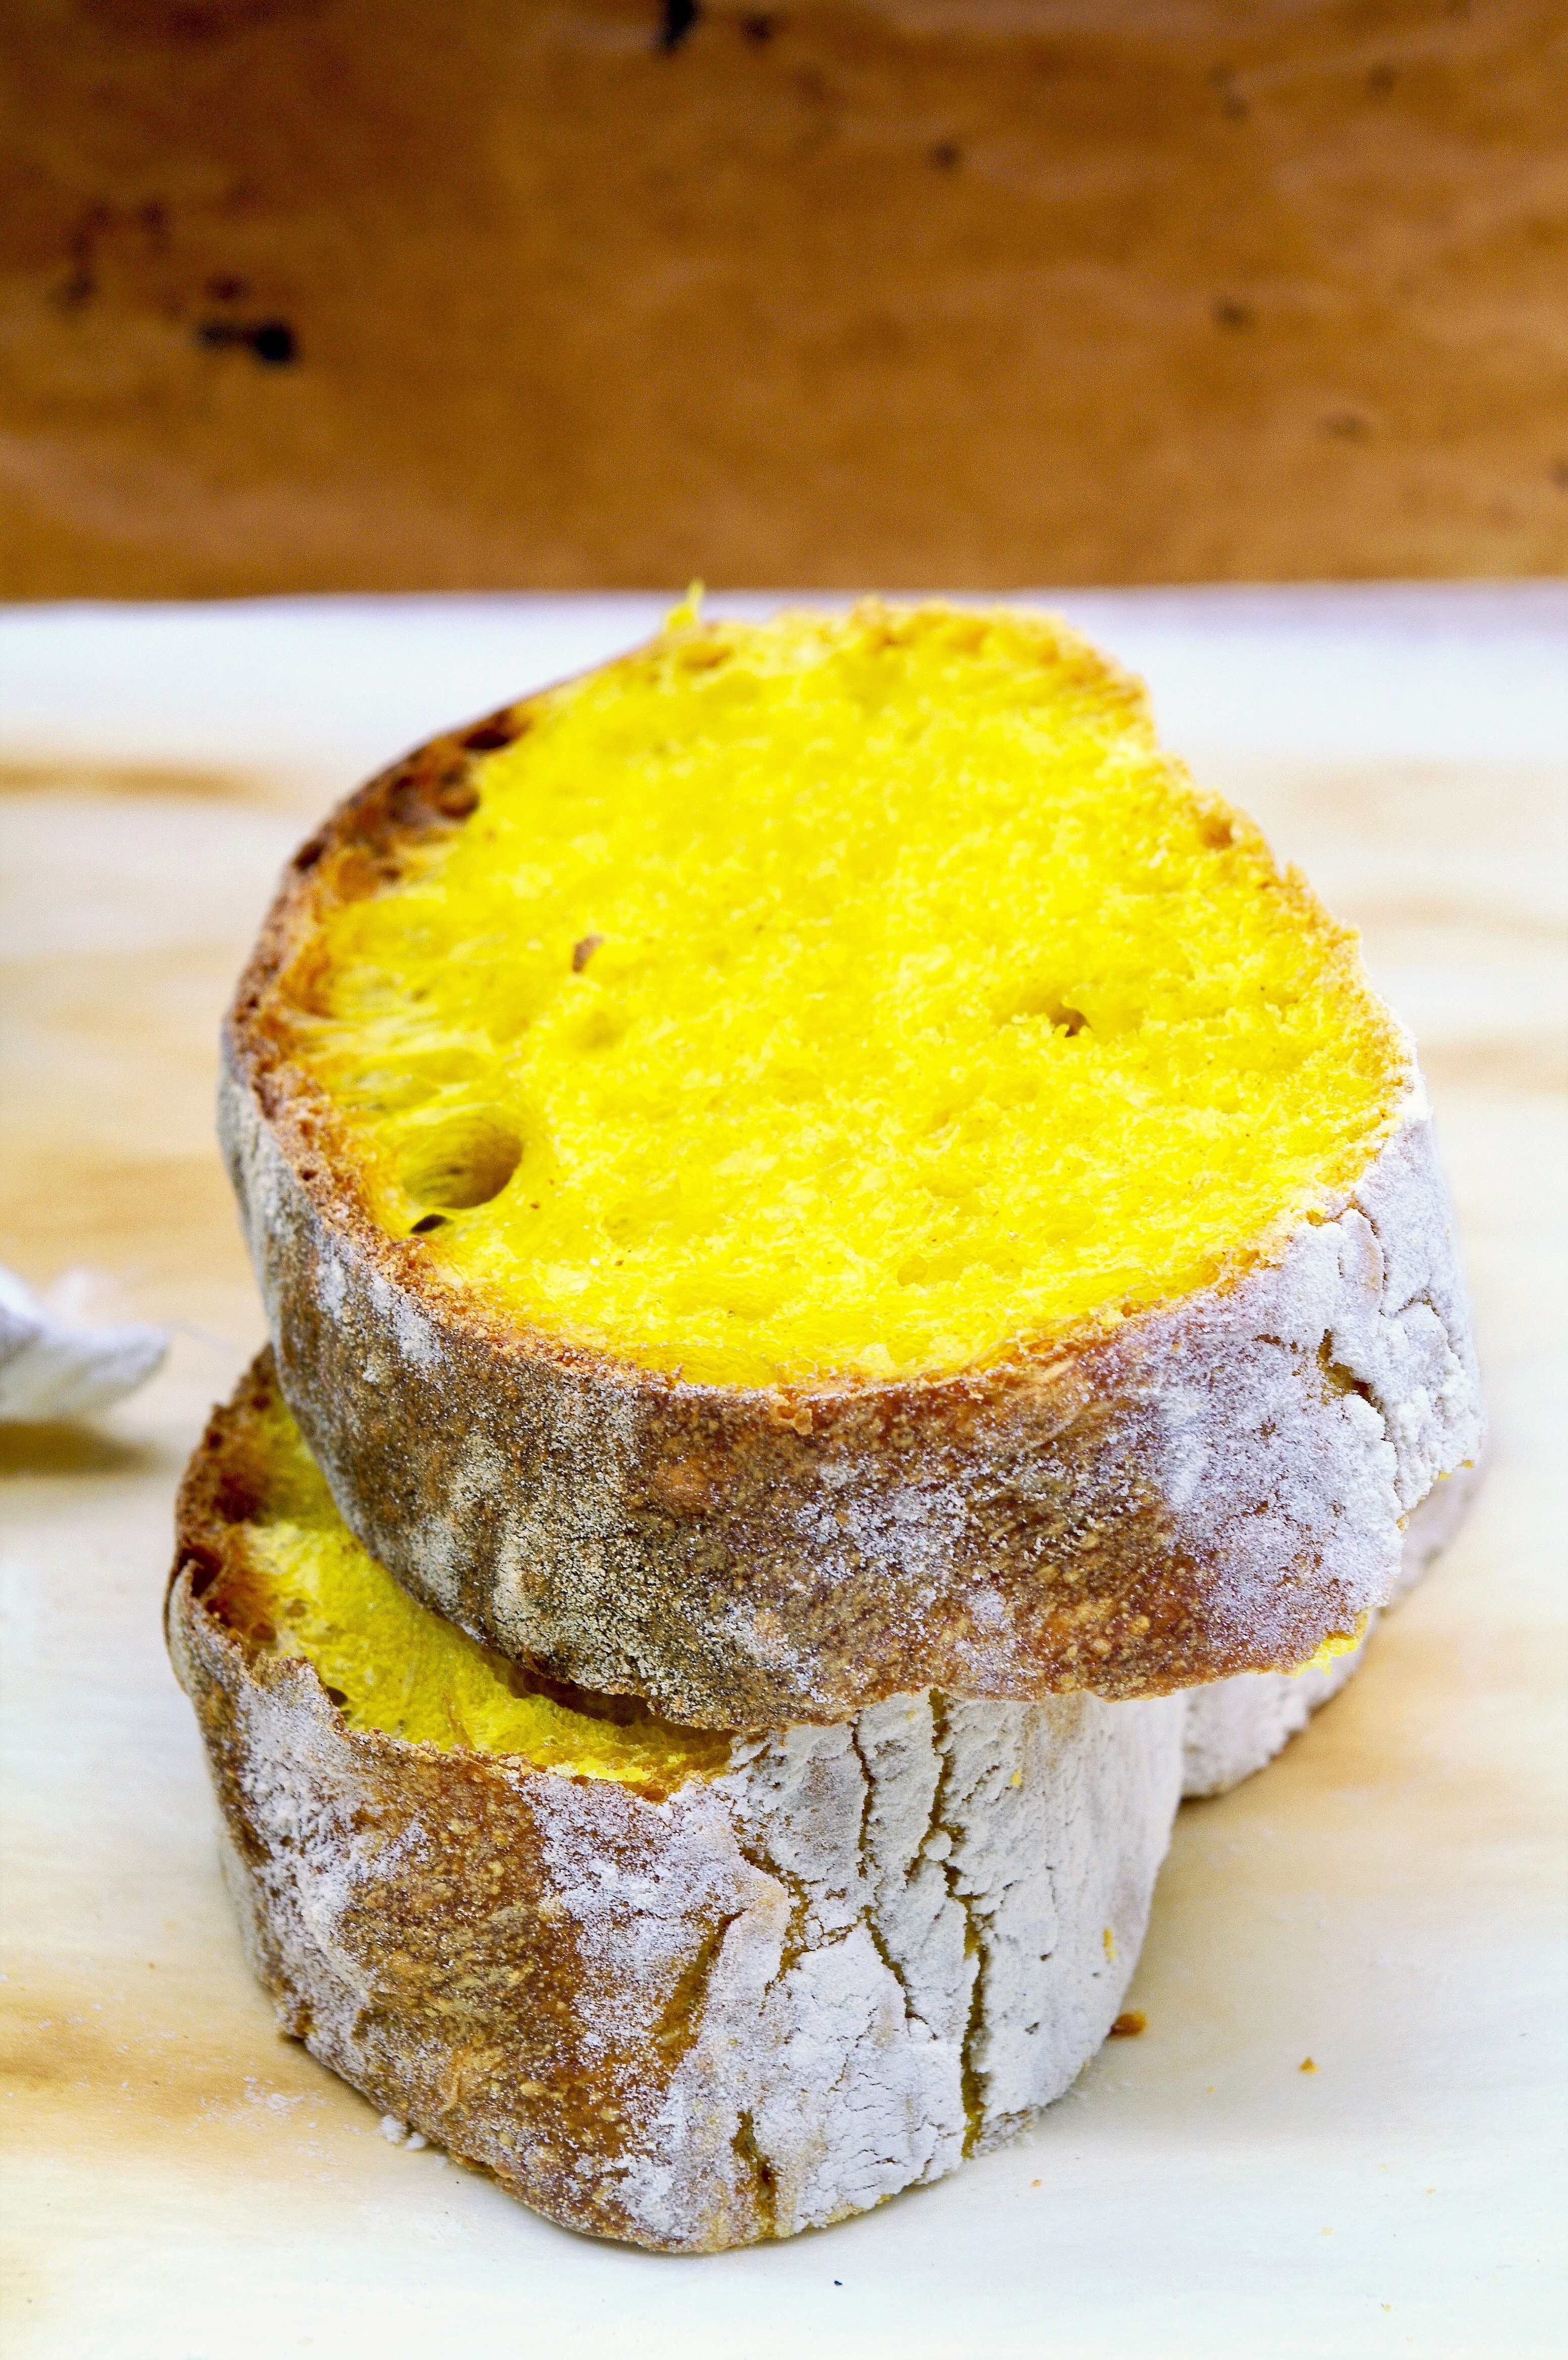
Non di solo pane… ma a volte anche sì! Specialmente se è FACILISSIMO, da sfornare in giornata, ben alveolato, scrocchiarello fuori e morbidissimo dentro, di un bel colore giallo paglierino. Rientra a pieno titolo nelle ricette minimo sforzo, massima resa, che tanto amo. Ho seguito una ricetta trovata sul sito Agrodolce, ma ho aumentato l’idratazione ed aggiunto qualche grammo di curcuma, perché avevo in mente delle deliziose pagnotte che mangiavo sempre l’estate scorsa, come premio dopo ogni gara di corsa, abbondantemente farcite da burro dell’Alto Adige e marmellata fatta in casa. Se la cucina è ricordi e tradizioni, il pane lo è ancora di più.
La tecnica dell’autolisi, ossia la miscelazione iniziale della farina con l’acqua, permette di ottenere un notevole sviluppo del prodotto, oltre a migliorarne il sapore e la conservabilità.
Impastate per 10′, fatelo lievitare qualche ora e il risultato sarà oltre le vostre aspettative. Chiaramente la curcuma può essere omessa o sostituita con qualsiasi altra cosa: curry, cumino, coriandolo, finocchio, aglio, erbe aromatiche. Adatto per qualsiasi occasione: colazione, pranzo, merenda, cena, non solo dopo una gara di corsa.
On air: Ray Conniff - If You Leave Me Now
INGREDIENTI (per 2 pagnotte)
- 500g farina 0 per pane (W250-260)
- 350g acqua
- 10g sale
- 5g lievito di birra fresco (1,5g se secco)
- 3g curcuma
Nella ciotola della planetaria (o in una ciotola normale se lo fate a mano) inserire tutta la farina e 320g di acqua. Mescolare con la foglia (o con un cucchiaio) fino ad ottenere un composto omogeneo, molto appiccicoso. Coprire la ciotola con pellicola e far riposare per 30′.
Unire metà dell’acqua restante (15g), insieme al lievito ed alla curcuma, e impastare (col gancio, se usate la planetaria) fino a farla assorbire bene. In ultimo unire l’acqua rimanente insieme al sale. L’impasto sarà arrotolato intorno al gancio, ma bello morbido. Darci la forma di una palla e metterlo a lievitare in una ciotola, coperta da pellicola, in luogo tiepido, per circa 3h: controllare il raddoppio.
Infarinare MOLTO BENE il piano di lavoro, disporvi sopra l’impasto in forma di rettangolo e, senza sgonfiarlo, realizzare una piega a portafoglio: prendere un lato corto e piegarlo verso il centro, poi prendere il lato corto opposto e piegarlo sopra il primo. Girare l’impasto di modo da avere la chiusura sotto, spolverare la superficie della pagnotta di farina, coprire con pellicola e far lievitare 1h.
Dividere la pagnotta in due, utilizzando un tarocco o un coltello ben affilato, spolverare bene di farina le due pagnotte ottenute (distanziarle l’una dall’altra), coprirle nuovamente con pellicola e far lievitare 40′.
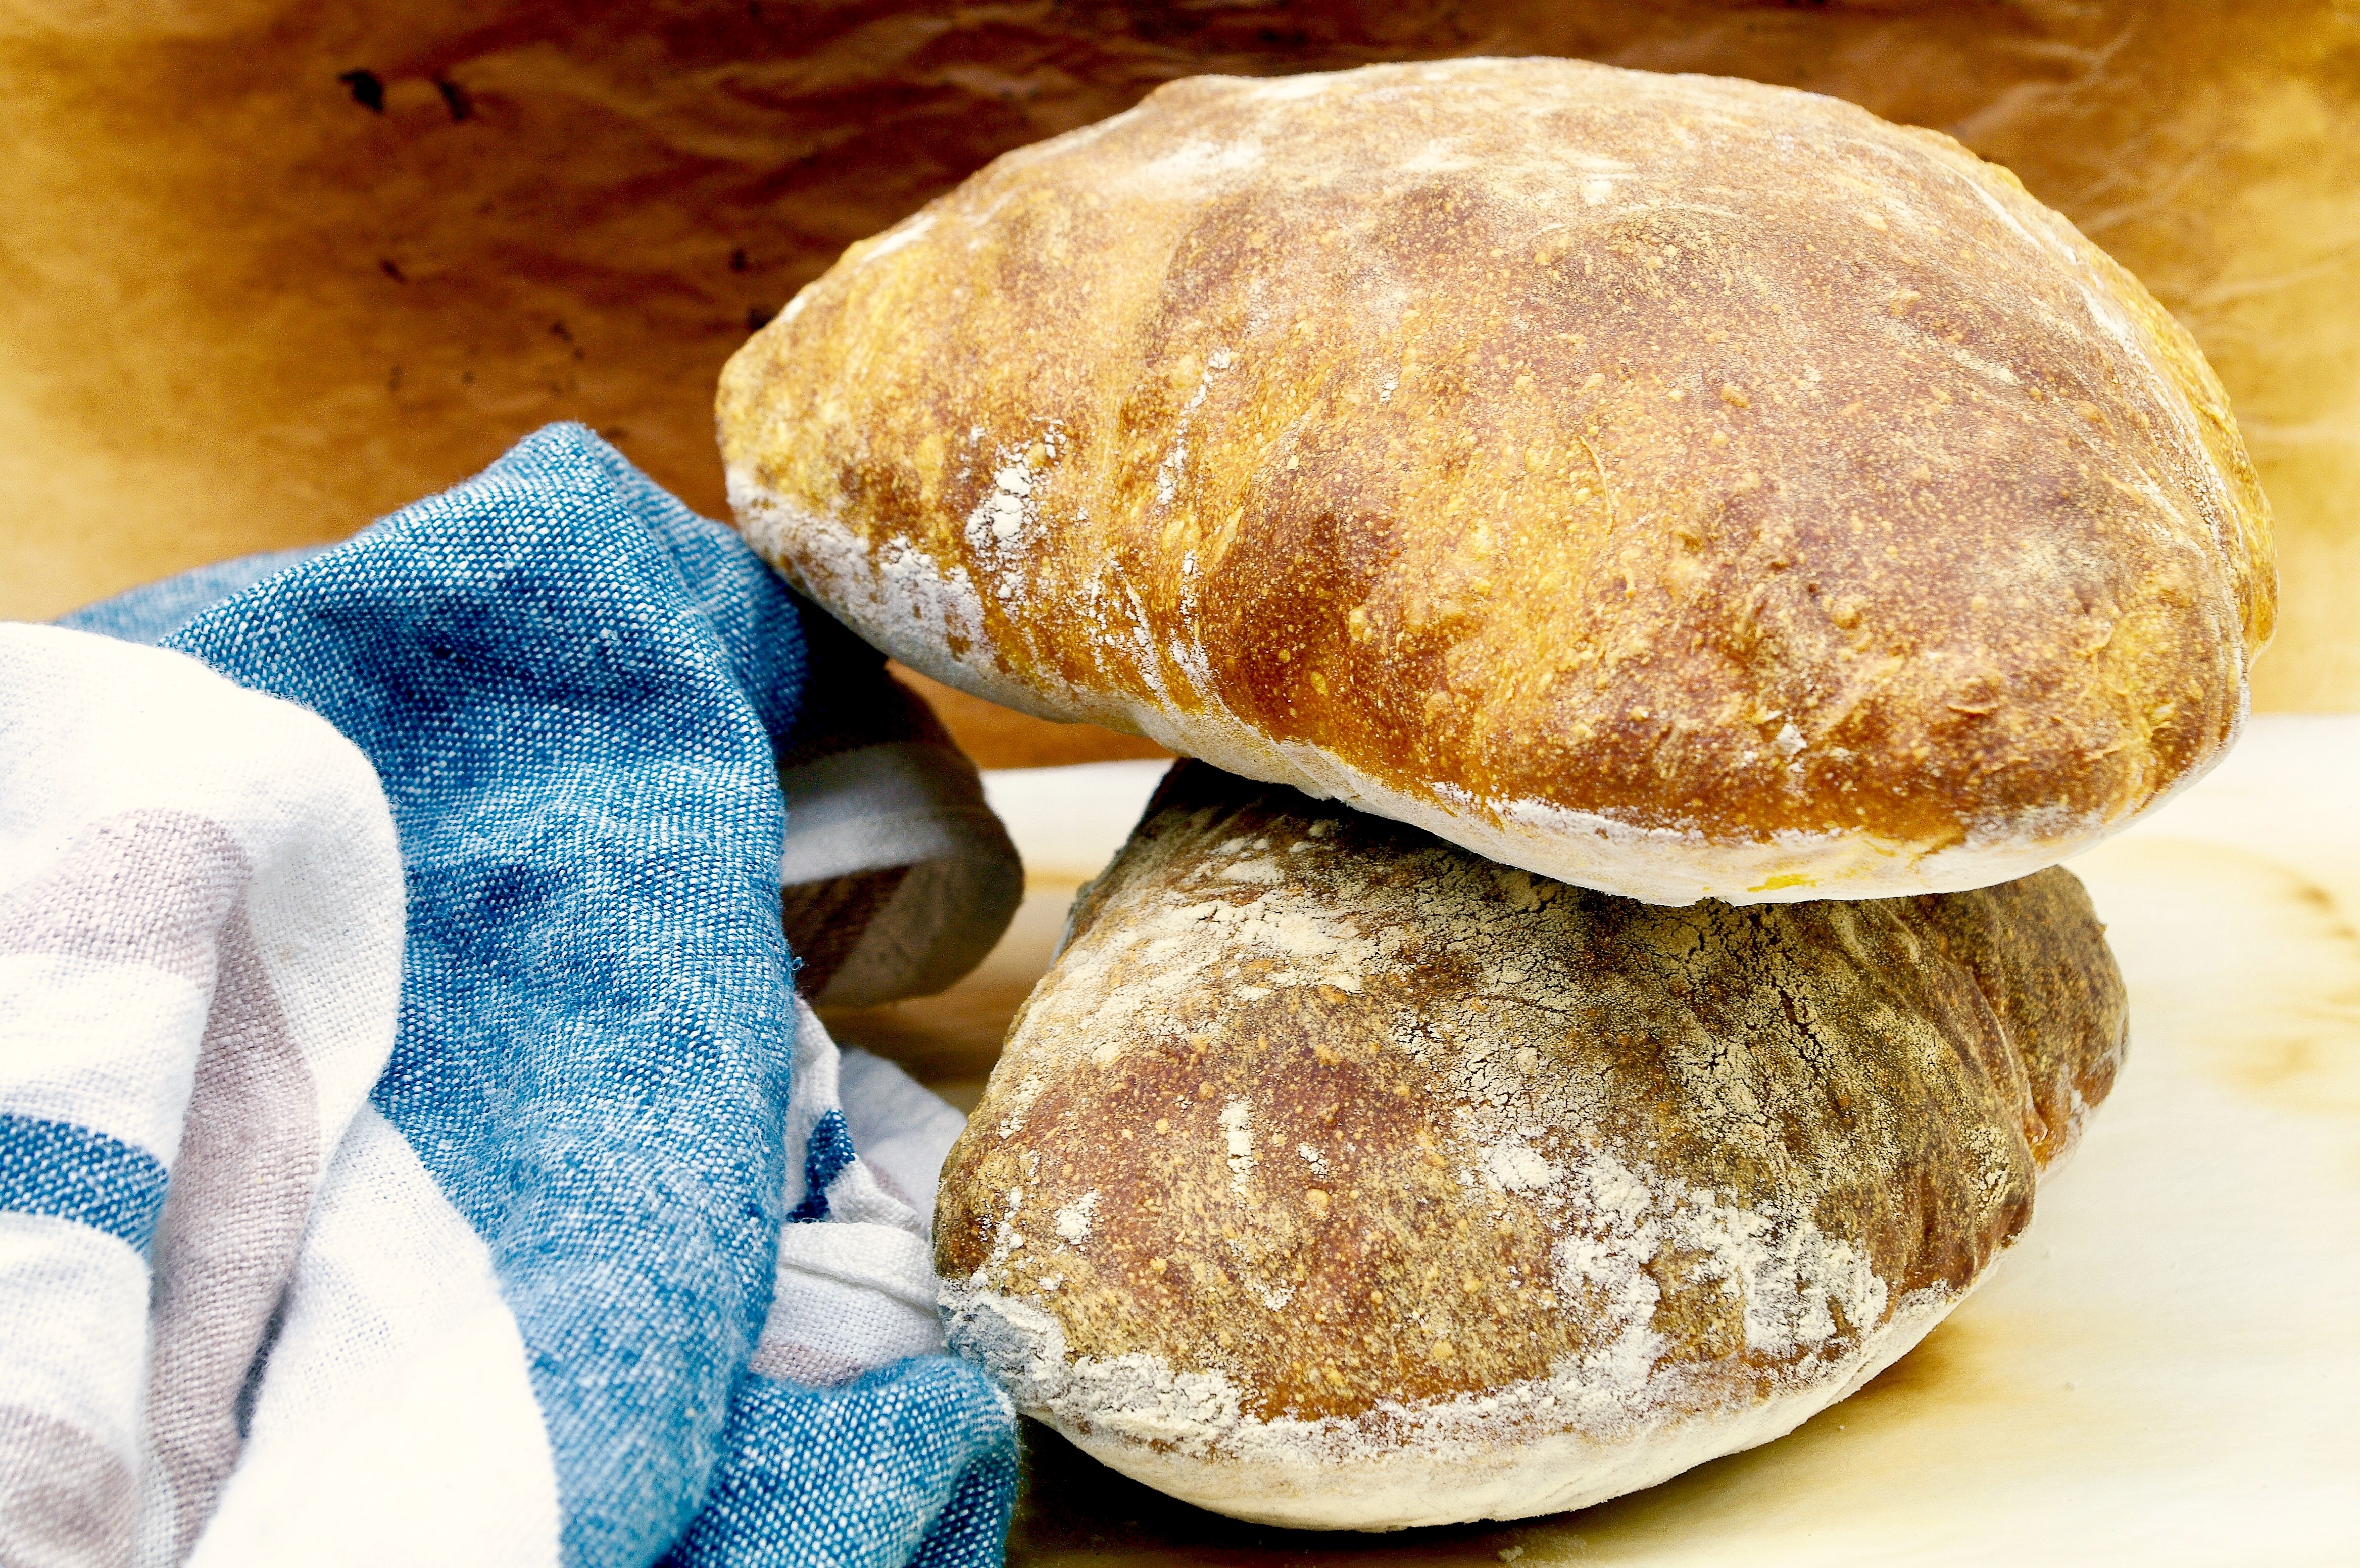
Durante l’ultima lievitazione scaldare il forno a 250° (se avete la pietra refrattaria è ancora meglio). Trasferire delicatamente le pagnotte sulla refrattaria, poggiata sull’ultimo ripiano in fondo del forno, oppure su una normale teglia ben calda (io utilizzo una pala per aiutarmi nello spostamento, a mano siate delicati), abbassare la temperatura a 220°, spruzzare dell’acqua sulle pareti e sul fondo del forno, chiudere il forno. Cuocere per circa 40′, con pagnotte di questa pezzatura: se le fate più piccole basteranno 25-30′. Il pane deve essere bello abbronzato, l’esterno duro e battendo sul fondo deve suonare vuoto. Sfornare e trasferire su una gratella a raffreddare bene. Gustare quando è ben freddo. ENJOY!
RUSTIC TURMERIC BREAD WITH AUTOLYSE METHOD
INGREDIENTI (for 2 loaves)
- 500g bread flour (W250-260)
- 350g water
- 10g salt
- 5g fresh yeast (1,5g if dry)
- 3g turmeric

In the bowl of a stand mixer (or in a normal bowl if you do it by hand) insert all the flour and 320g of water. Mix with the paddle attachment (or with a spoon) until the mixture is homogeneous, very sticky. Cover the bowl with plastic wrap and let it rest for 30′.
Combine half the remaining water (15g), together with yeast and turmeric, and knead (with the dough hook if you use the stand mixer) until it is well absorbed. Finally add the remaining water together with salt. The dough will be rolled around the dough hook, but nice soft. Give it the shape of a ball and let it rise in a bowl, covered with plastic wrap, in a warm place, for about 3h: check the doubling.
Flour the work surface VERY WELL, place the dough over it in a rectangle shape and, without deflating it, make 3 folds: take a short side and fold it towards the center, then take the opposite short side and fold it over the first. Turn the dough so as to have the closure underneath, dust the surface of the loaf with some flour, cover with plastic wrap and let rise for 1h.
Divide the loaf into two loaves, using a scraper or a well sharpened knife, dust well the two loaves with flour (distance one loaf from the other), cover them again with plastic wrap and let rise for 40′.
During the last leavening heat the oven to 250° (if you have a refractory stone it is even better). Transfer the loaves gently onto the refractory stone, put on the last shelf at the bottom of the oven, or on a normal hot tray (I use a shovel, or peel, to help me during shifting), lower the temperature to 220°, spray some water on the walls and on the bottom of the oven, close the oven. Cook for about 40′, for loaves of this size: if you make smaller ones, 25-30′ will be enough. Loaves must be beautifully tanned, the outside hard and beating on the bottom must sound empty. Remove from the oven and transfer to a wire rack to cool well. Taste when it’s very cold. ENJOY!
A presto, Federica
